Welcome

Showing posts with label Windows. Show all posts


Most people tend to get aggravated when their PC is running slow particularly in times that you really need to wrap up something. some people doesn't know that Random Access Memory (RAM) in a computer plays a major role on how fast and smooth the PC can run an application. basically, RAM's main task is to speed up all processing requested by the user.
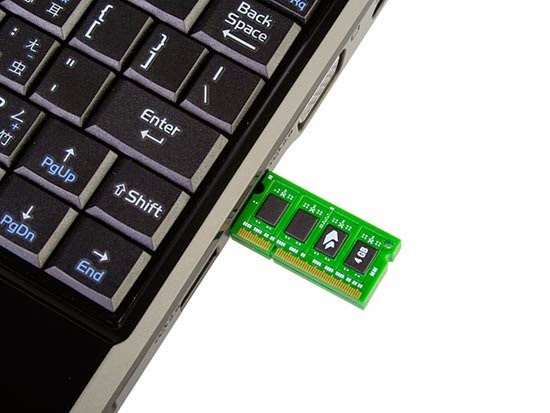


When this instance happen and you feel kicking your PC because of how slow it is. pause and grab your Flash drive and use it as a RAM!.


Although this process is not as effective as the real "RAM" can do. this should be a great and easy to do alternative when time comes that you feel speeding up things. and you can't afford to immediately head to a computer store to buy a new expensive RAM.


How to use USB Drive as RAM in Windows XP 
Follow below steps to use USB drive as RAM on Windows XP.

Step 1: Insert your USB Drive

Step 2: Right Click on “My Computer“

Step 3: Click on “Advance Tab“

Step 4: Now in performance click on “Settings“

Step 5: Now click on “Advance” and then on “change“

Step 6: Now select your USB drive, that you want to use as RAM

Step 7: After selecting your USB drive, click on “Custom size“

Step 8: click on “set“button and click on” OK“

Now restart your PC and you are ready to use USB Drive as RAM in your Windows XP PC.


NOTE: When removing your Flash Drive make sure to "Safely Remove" it. to avoid damages.


How to Use USB Drive as RAM in Windows 7 & Windows 8
The follow this steps to use USB drive as RAM on Windows 7 and 8.

Step 1: Insert your USB Drive

Step 2: Format it

Step 3: After formatting it, right-click on your USB drive

Step 4: Select “Properties”

Step 5: Click on “ReadyBoost tab”

Step 6: Now click on “use this device”

Step 7: Now move the slider to the maximum size

Step 8: Click “OK” and “Apply”


Now again restart your Windows 7 or Windows 8 PC or Laptop and you are done! 


Disclaimer: Do it on your own risk.


How to Install Android On Windows PC


This tutorial is intended for Installing Android ICS 4.0.3 on Virtual Box. 
Can be installed in any computer that has VB installed in it. (Windows, Mac, Linux)


Getting started


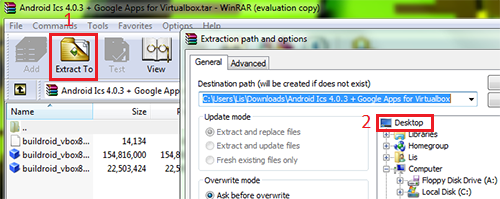
1. To start download (click) Android ICS 4.0.3  from this direct link and unzip the files on your desktop.


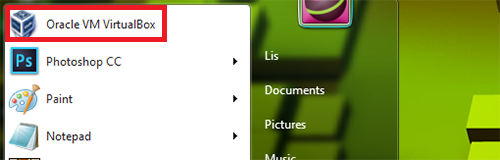
 2.  Now Download and Install Oracle VirtualBox on your computer. Then Launch Virtual Box.


3. . On virtual box click on File -> Import Appliance.


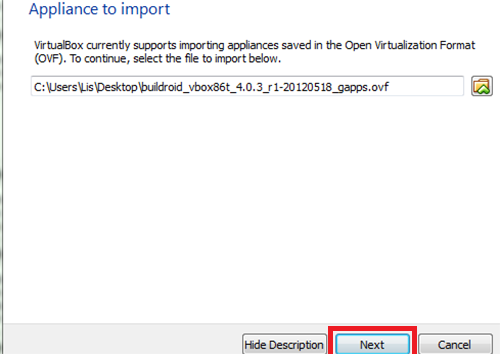
 4. At the Import Virtual Appliance click on the mini folder to browse and select the the downloaded .ofv file. select it and click on open.


 5. After selecting the file, click on Next.


6. Configure the virtual machine settings, when you’re done click on Import.


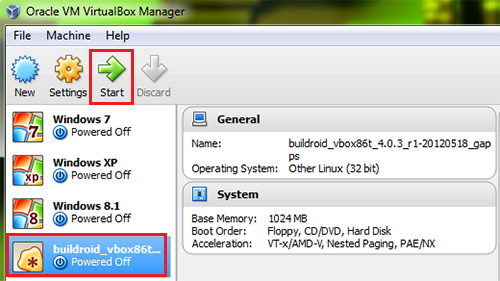
7. After importing is completed you can Start your new virtual machine.


8. Restart Virtual Machine,  It should boot up on Android ICS you just installed. Unlock it !


9. Lastly, Have fun installing and playing any android apps on your Android virtual machine!


WIndows XP security support final days


Microsoft's support for Windows XP Operating system has finally ended Tuesday April 8 2014, after 13 years.  

It means that there will be no more official security updates and bug fixes for the OS to be release from Microsoft

except for some government which have made a deal for an extended support contract for the OS to keep users and vast of information protected . 

UK government has signed a £5.5 million deal for extended support, similarly the Dutch gov has signed a "multimillion euro" deal to obtain support for the 40,000 PCs running XP used by the nation's civil servants. 

To protect users information Microsoft advised to upgrade to newer versions


Remote Windows PC for Android


Many people ask if they can access their computer remotely.   well you can.  Thanks to the best and user friendly remote desktop app available .

TeamViewer is a  free app (for personal use)  helps users access their desktop from almost any Android devices anywhere over the internet.

This app is available for Windows, Mac ,Linux, Ubuntu.... this app is best if you want to help your family or friends who are having trouble with their computers. this is also good for Video conferencing (non-commercial use)

iPhone users can also use this app. just download it from Apple store.


Lets do it!


To start, download the app for your PC,  go to www.teamviewer.com
- Click download for personal use.  the file is just roughly 1KB

 Then from your Android phone or tablet  download the Android App in Google Play
- Search <Teamviewer Remote>

After the installation of Teamviewer on your PC create an account.
once created it will register  your PC .


Now lets access your PC remotely.


From your android launch the Teamviewer app you just installed.
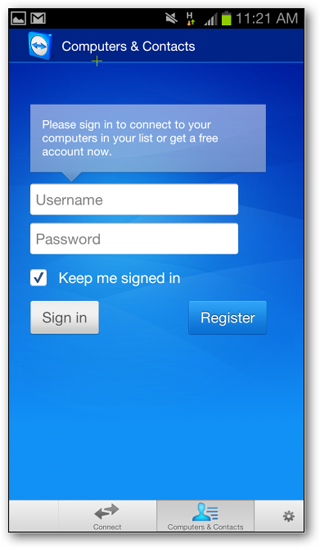
Tap on <Computers> then log in using the account you created on your desktop.
after logging in you should be able to see your registered PC name.
(note: you must be connected to the internet)
just tap the name of your PC to start viewing your desktop screen.
you can navigate / use any app installed to your desktop from your tablet or phone.


Enjoy.


How to make windows start-up load faster

This  step by step trick is very simple to follow. It will not make your computer run like those PC's with i7 Intel core.  but will help improve its boot up speed.


Follow these few steps

• click [START].
• click [RUN]
• type in "MSCONFIG"

• click [START UP]
• click [DISABLE ALL] or just disable unnecessary 
application to load.
• then SELECT [BOOT.INI]. change the "TIMEOUT"
to "0" sec. (default is "30").
• then [APPLY]. [CLOSE]. pop up box will appear
select [RESTART].
Msconfig > Startup
Msconfig > Boot.ini


Comment